Front Driveshaft: Wear, Failure, and CV Upgrade (JK)
The JK front driveshaft is a known wear and failure point, especially once the truck is lifted. A clunk on engagement, a vibration that grows with speed, or a torn CV boot slinging grease all point to it. On a lifted JK, the factory shaft works at too steep an angle and the front CV wears fast — an upgraded shaft is the durable fix.
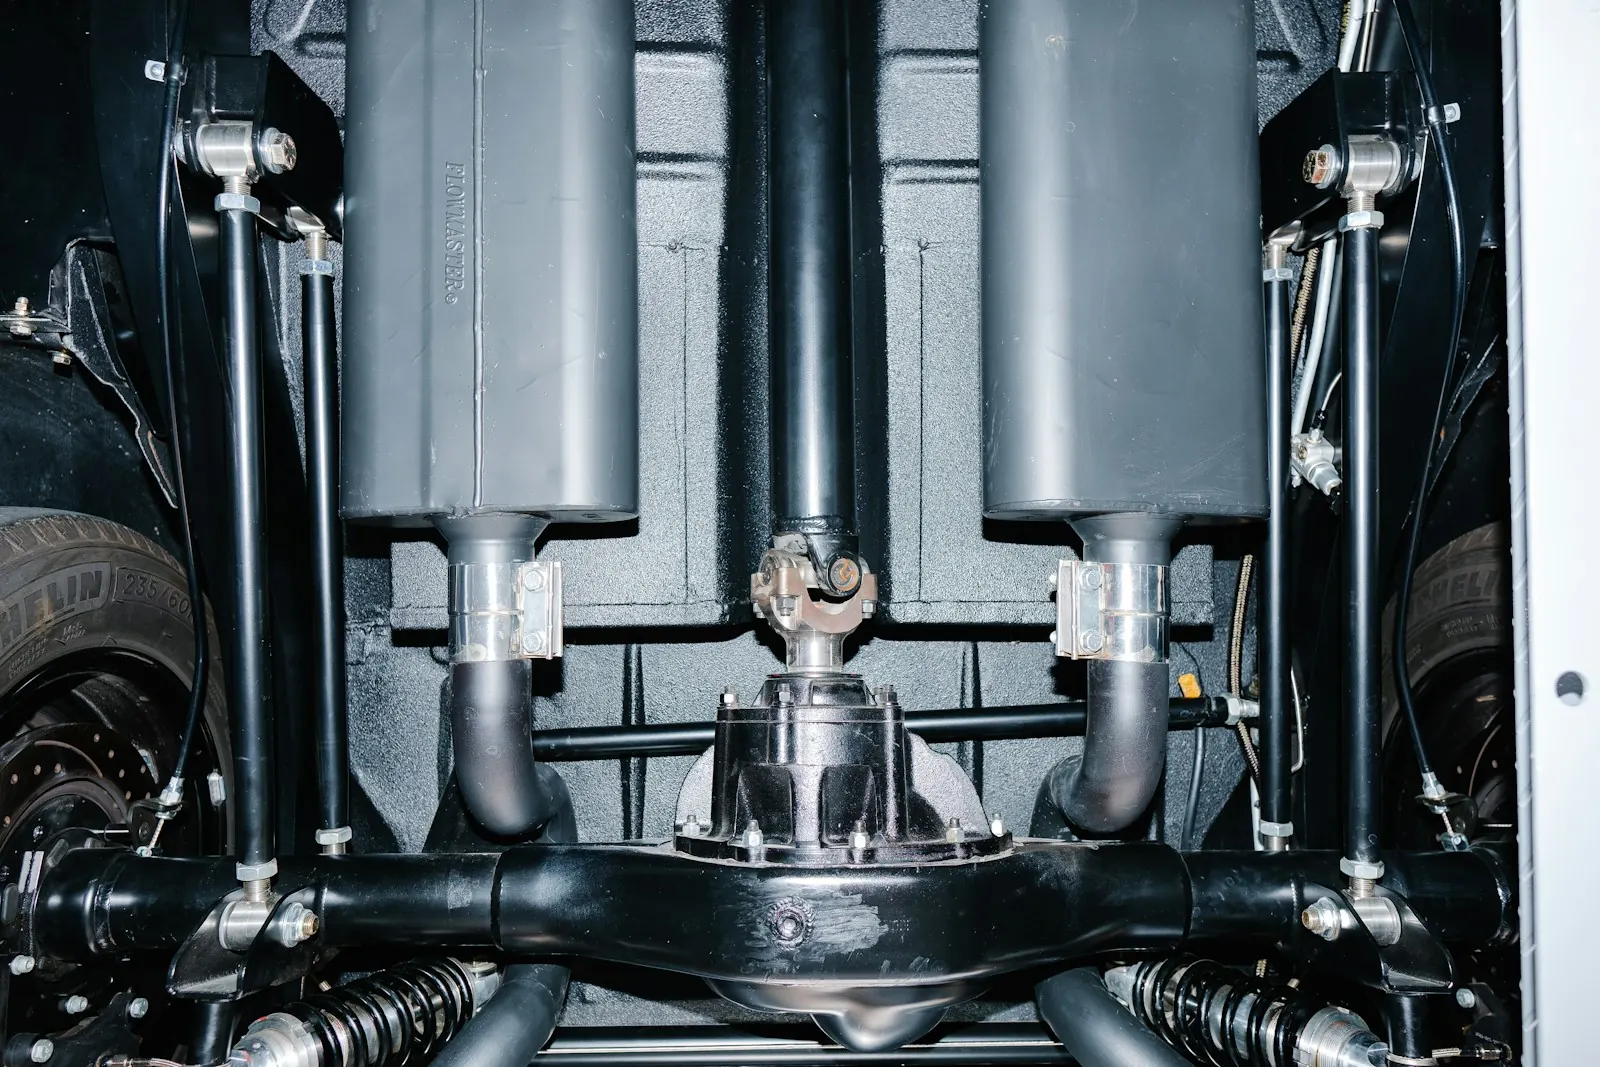
The factory front driveshaft uses a CV joint at the transfer case and a u-joint at the axle. Lift steepens the operating angle, which accelerates CV wear; many lifted JKs develop a vibration or a failed front CV within a few thousand miles. Because the front shaft only spins in 4WD, a failing one can hide until you engage 4-high on the highway and feel the buzz.
At stock ride height the front driveshaft's operating angle sits under 3 degrees between the transfer case output and the axle pinion. A 2.5" lift typically pushes that to 5-6 degrees, and a 4" long-arm lift can clear 7. The CV joint tolerates continuous operation well past that — it's rated for angles into the mid-teens without accelerated wear — but the u-joint at the axle end has a far tighter comfort zone. Past roughly 3 degrees of sustained operating angle, u-joint life drops sharply because the cross bearings load unevenly on every revolution instead of rolling clean. That mismatch is why lifted JKs chew through front u-joints and CV boots at a fraction of the miles a stock-height truck sees: the factory shaft geometry was engineered around a 0-1.5" lift ceiling, and anything past that is asking factory parts to do a job they weren't built for.
With the front wheels off the ground and the truck safely supported, check the CV and u-joint for play and the boot for tears or thrown grease. A vibration only in 4WD, a clunk when 4WD engages, or grease sprayed around the front of the transmission tunnel are the tells. Rotate the shaft by hand through a full turn — smooth rotation with zero binding is correct, and any hard spot every quarter-turn means the joint is pitted internally even if the boot looks intact. Grab the shaft on either side of the u-joint and try to rock it; any perceptible play means the cross is worn and needs replacement now, not at the next service interval — a u-joint that separates at speed can drop the shaft into the pavement and take the transmission tunnel, a brake line, or the oil pan with it.
- OEM replacement CV shaft (stock height only): Mopar, roughly $280-350. Restores factory geometry exactly — the wrong choice on anything over about 2" of lift, where it re-creates the same wear pattern that failed the original shaft.
- Adams Driveshaft HD CV (built to your lift height): $450-600. The common upgrade for 2.5-4" lifts; greaseable joints and a double-cardan option for the steepest angles.
- Tom Woods HD CV shaft: $500-650. Comparable spec to Adams, ships with a lifetime warranty on the u-joints — worth the small premium if you plan to keep the truck long-term.
- Rebuild kit (boot + grease, reuse the tube): $60-90. Only makes sense if the shaft tube and splines test straight and the failure is boot-only with no play in the joint itself.
- Support the truck on jack stands and remove the front driveshaft with the transfer case in neutral.
- Mark the orientation of the shaft relative to the pinion flange before removal so the new shaft (or rebuilt joint) goes back in the same clocking.
- Remove the flange bolts — typically four 8mm-head bolts on the pinion side. Do not reuse them; the factory bolts are torque-to-yield and lose clamping force once cycled.
- At the transfer case end, the CV attaches with a slip yoke or bolted flange depending on year — support the shaft while separating so it doesn't drop on the exhaust or skid plate.
- Install the new or rebuilt shaft, torque flange bolts to spec (Mopar calls for roughly 21 ft-lb on the small flange bolts — verify against your specific shaft's instructions since aftermarket CVs sometimes spec differently), and grease any zerks on a greaseable joint before the first drive.
- Cycle the front axle through full articulation with the shaft installed and confirm nothing contacts the tunnel or crossmember at full droop and full compression.
A front driveshaft that lets go at speed can flail and damage the tunnel, brake lines, or oil pan. Catch it at the boot-tear or early-vibration stage and it's a cheap fix; ignore it and it becomes an expensive, potentially dangerous one. If you are already lifting the JK, budget for the upgraded front shaft as part of the lift rather than a later repair — the steeper driveline angle is baked in the moment you raise the truck, so addressing it up front saves a second teardown. Factor in shop labor if you're not doing it yourself: expect $80-150 on top of parts for a shop to pull and reinstall the shaft, less if it's bundled into a lift install that's already got the front end apart.
Tools required
- floor jack
- jack stands
- 12mm/8mm sockets
- torque wrench
- pry bar
Parts
| Part | Vendor | Est. price |
|---|---|---|
| Front driveshaft (HD / upgraded CV) | Adams Driveshaft/Tom Woods | ~$450 |
| Driveshaft boot / CV rebuild kit | OEM | ~$60 |
| Flange bolts (replace, do not reuse) | Mopar | ~$15 |
Sources
Related
- SYE Kit (Short Yoke Eliminator) for NP241OR Transfer Case
- JK Lift Kit Types — Spacers vs. Short Arm vs. Long Arm
- Death Wobble — Root Causes and Systematic Fix
- All Jeep Wrangler JK guides & tools
- Browse the full DIY database
Written and maintained by an AZ wheeler and driveway wrencher. How we source guides. Always cross-reference your factory service manual — modifications affect vehicle safety and warranty. Work at your own risk.