Long-Arm Lift System — 4.5"+ for Rock Crawling ($2,000+)
Long arms fix what short arms can't — if the TJ is your dedicated rock rig, this is the upgrade that unlocks its full suspension geometry.
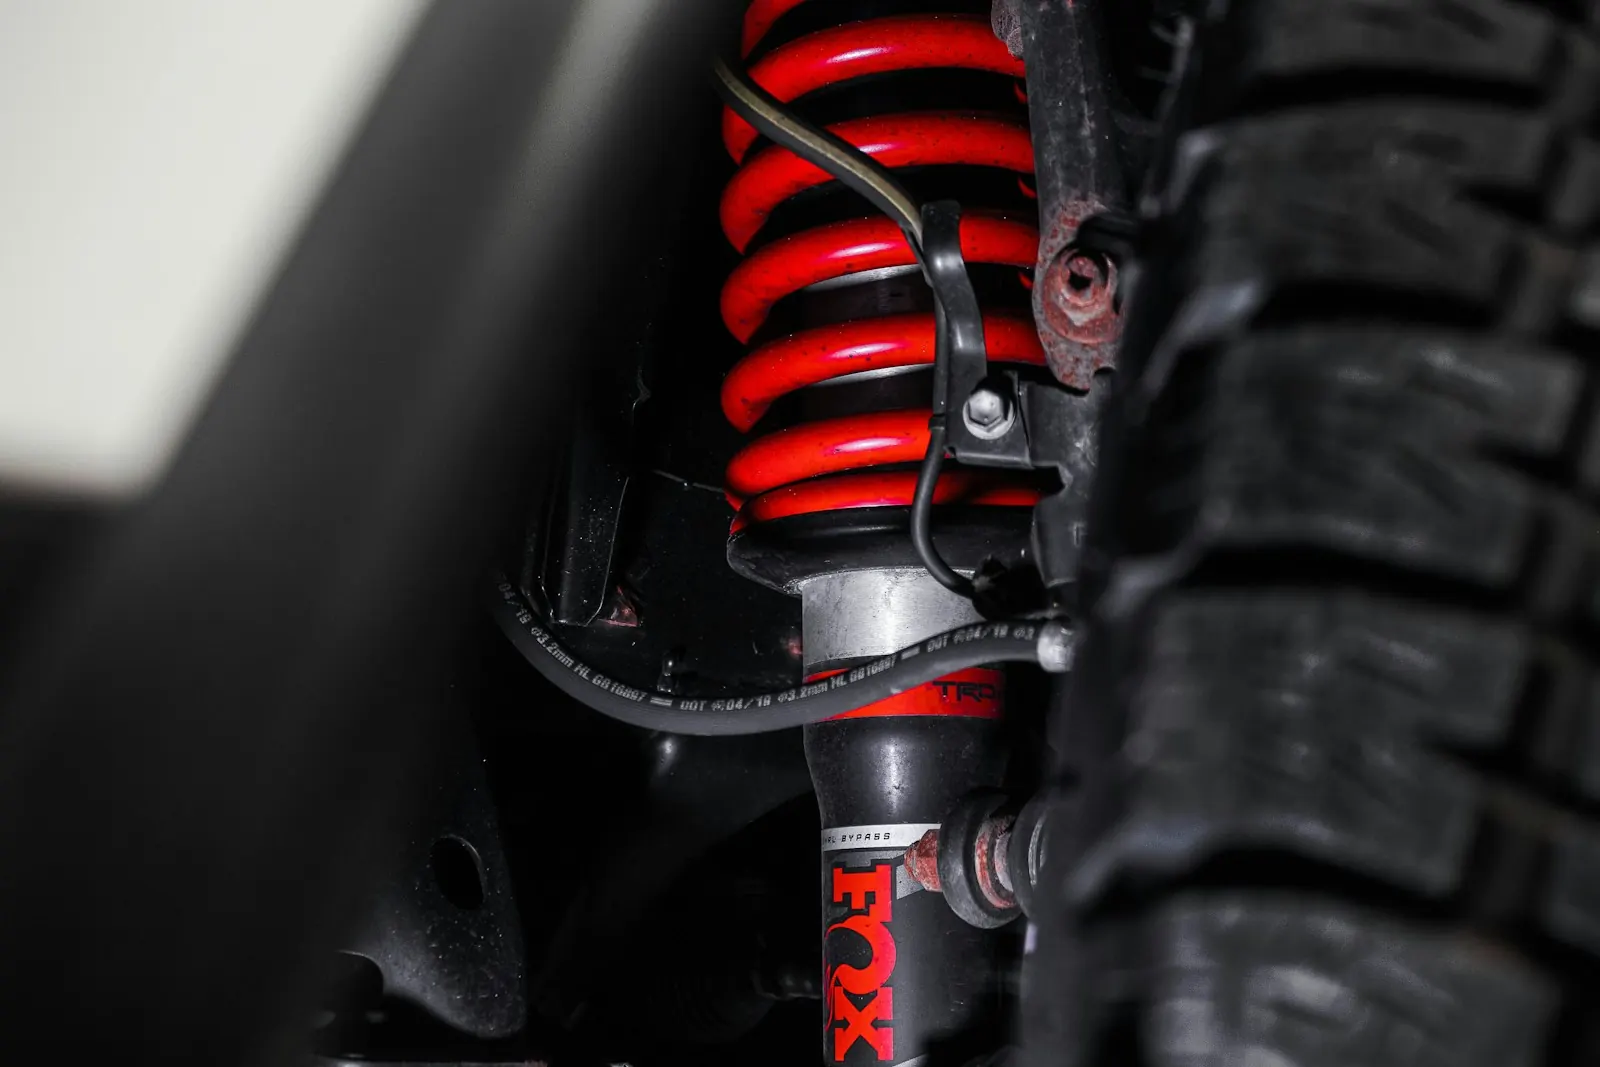
Short-arm suspension — the factory layout — uses relatively short control arms that create a tight, responsive geometry at stock ride height. Raise the axle 3.5"–4.5" on short arms and the pinion angle, caster correction, and anti-squat geometry all degrade at full droop. The axle wants to rotate forward under compression and backward under droop, creating handling that's noticeably compromised on aggressive terrain. Long arms solve this by moving the front and rear pivot points forward (farther from the axle), which flattens the arc of axle travel and keeps the pinion angle stable through the full range of suspension travel.
The practical result is dramatic: a well-built TJ long-arm system delivers more axle droop, less pinion angle change through the suspension cycle, and far better on-trail predictability than a short-arm setup at the same lift height. On rock crawling terrain — ledges, V-ditches, side-hills — this translates directly to keeping tires on the ground when the terrain gets uneven. The trade-off is installation complexity and cost. Most long-arm systems require cutting factory crossmembers, welding in new mounts, or bolting in a new LCG (low center of gravity) skid crossmember that replaces the factory unit and provides the new long-arm pivot points.
Low Center of Gravity (LCG) designs, used by Rubicon Express and Iron Rock Offroad, drop the front control arm mounting points as low as possible while running longer arms. This geometry lowers the TJ's center of gravity compared to a conventional high-mount long-arm, which meaningfully improves side-hill stability — relevant on any trail with off-camber sections. Rock Krawler's 3-link front is a different approach: a panhard bar replaces the track bar and a third upper link controls axle rotation, which allows even longer effective arm length without the geometry compromises of a standard 4-link.
Plan for the full build to take an entire weekend for an experienced mechanic. Rear driveshaft replacement (SYE + rear CV shaft) is required at this lift height and should be bundled into the project. Wheel alignment is mandatory after installation.
Steps
- Photograph all existing suspension geometry before disassembly — caster angle, pinion angle, and control arm orientation are reference points.
- Raise the vehicle at the frame rails; support on jack stands at all four corners. Support both axles on separate floor jacks.
- Drain transfer case if the skid crossmember must be removed for the LCG bracket.
- Remove factory front and rear control arms, track bar, and (for LCG kits) factory crossmember.
- Cut or remove factory control arm mounts per kit instructions — most kits specify which mounts to trim or remove entirely.
- Install new LCG crossmember / frame brackets per kit; torque to specification.
- Install long-arm control arms with new mounting hardware — do not fully torque until suspension is loaded.
- Install new coil springs and shocks (included in kit or spec'd by kit documentation).
- Reconnect sway bar end links and brake lines; check brake line length — extended lines are required at this lift height.
- Lower the vehicle to the ground (suspension loaded) and torque all control arm bolts: front lower 130 ft-lbs, front upper 75 ft-lbs, rear lower 130 ft-lbs, rear upper 75 ft-lbs.
- Set caster at 4°–7° positive using adjustable upper control arms.
- Verify pinion angle — should be 1°–3° downward from horizontal at full droop.
- Install SYE kit and rear CV driveshaft before driving.
- Alignment shop visit is required — request a 4-wheel alignment with caster correction.
- Drive 50 miles on pavement, re-torque all suspension fasteners.
Why it works
- Dramatically improves axle articulation and droop compared to short-arm kits at the same lift height
- Stable pinion angle through full suspension travel reduces U-joint wear and vibration
- LCG designs lower the vehicle's center of gravity relative to conventional long-arm mounting
- Rock Krawler 3-link eliminates track bar geometry limitations entirely
- Best-in-class geometry for serious rock crawling builds
Trade-offs
- Installation requires partial frame modification on most kits — not fully reversible without significant effort
- Welding skills may be required depending on kit and installer preference
- Total project cost including SYE, rear driveshaft, extended brake lines, and alignment can reach $3,500–$4,500
- Long control arms can reduce departure angle and ground clearance at the frame if not paired with proper skid plates
- Requires front-end alignment by a shop familiar with modified TJ geometry
- Not appropriate for mild trail or mostly-street builds — this is a committed rock rig upgrade
Tools required
- floor jack
- jack stands
- torque wrench
- socket set
- spring compressor
- angle grinder
- welder (for some kits)
- drill press
- alignment tool
- pry bar
Parts
| Part | Vendor | Est. price |
|---|---|---|
| Iron Rock Offroad 4.5" Long-Arm Lift System TJ (bolt-on, LCG skid-mount) | Iron Rock Offroad | ~$2199 |
| Rock Krawler Max Travel 3.5" 3-Link Front Suspension TJ | Rock Krawler | ~$2499 |
| Rubicon Express 4.5" Super-Flex LCG Long-Arm Kit TJ RE7130 | Rubicon Express | ~$2899 |
Sources
- Pirate4x4 — TJ Long-Arm vs Short-Arm Suspension Build Thread
- Iron Rock Offroad TJ Long-Arm Installation Instructions
- Rock Krawler TJ Max Travel System Overview
Related
- Mid-Tier Lift Kit — 3"–4" Spring Lift ($600–$1,500)
- Re-Gearing the TJ — 4.56, 4.88, and 5.13 Ratios
- Rear Locker for the TJ — Chrysler 8.25", Dana 35, and Dana 44
- All Jeep Wrangler TJ guides & tools
- Browse the full DIY database
Written and maintained by an AZ wheeler and driveway wrencher. How we source guides. Always cross-reference your factory service manual — modifications affect vehicle safety and warranty. Work at your own risk.