TJ Recovery Points — Rated Anchors for Self-Recovery and Being Pulled
A recovery point that fails under load can send a heavy shackle through a windshield at high speed. Use rated, forged recovery anchors — never unrated tow hooks, trailer ball mounts, or frame tie-downs for vehicle recovery.
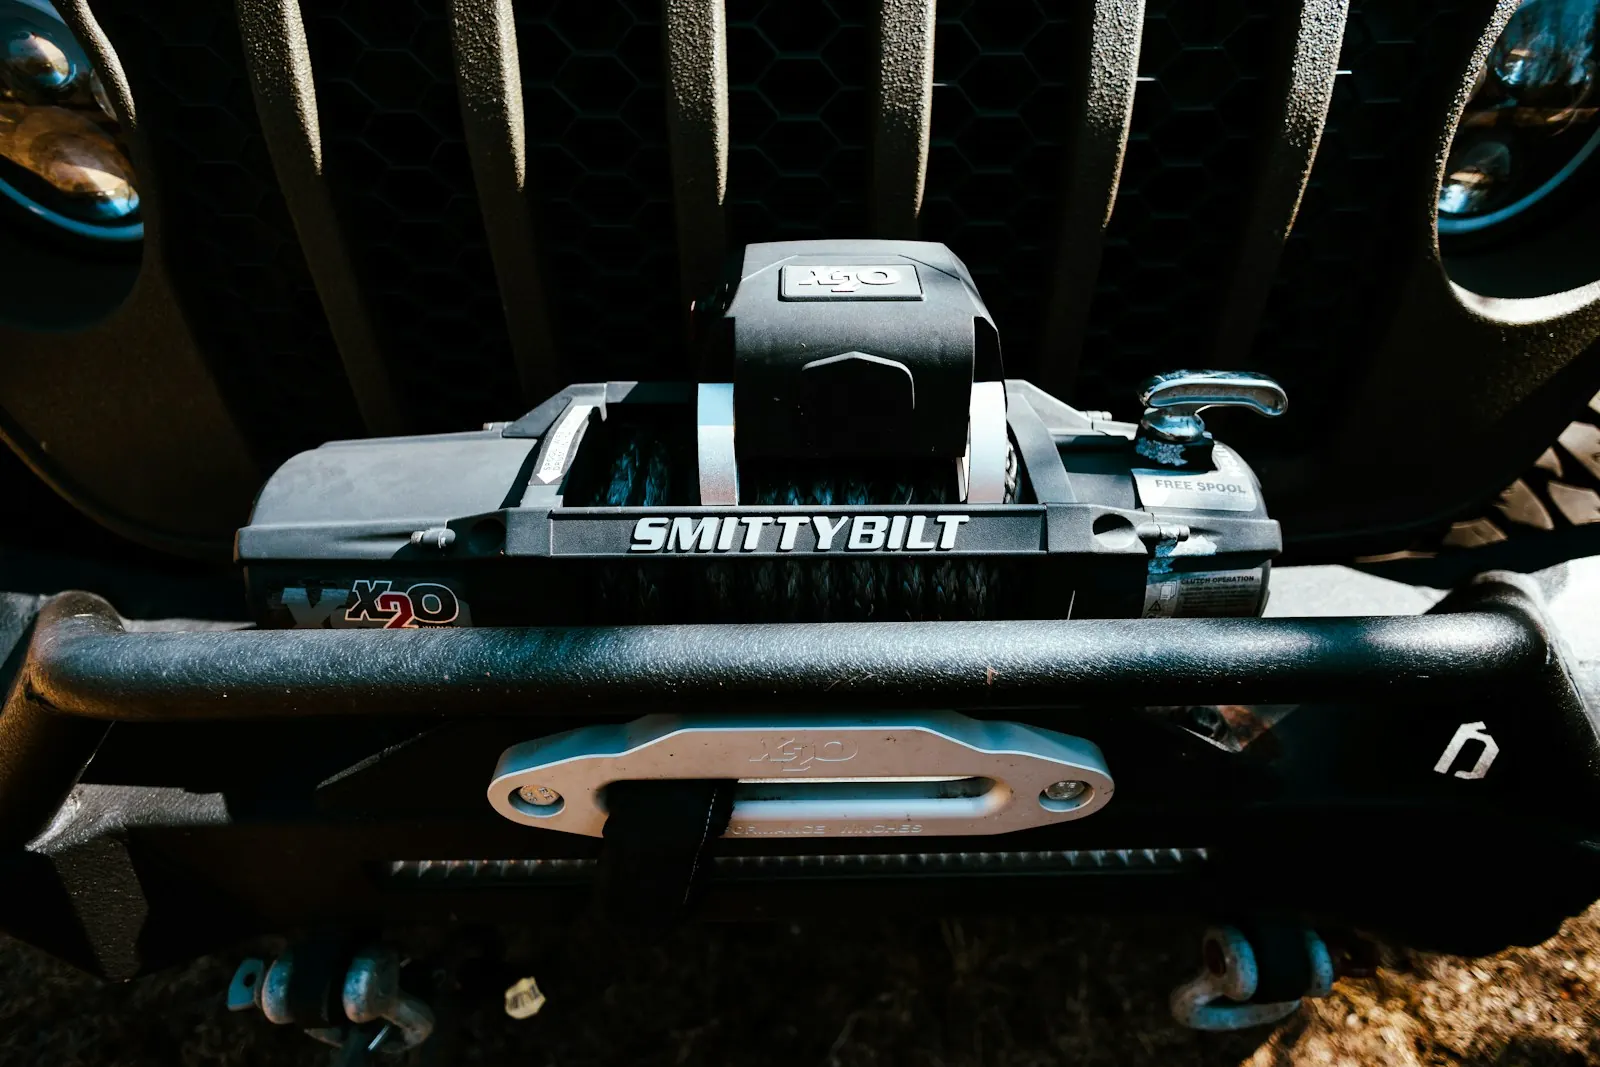
The TJ has factory tow hooks front and rear, but they're not rated for dynamic recovery loads — they're designed for low-speed tow truck hookups, not for snatch strap recovery where peak load can spike to 3–4x vehicle weight. Real recovery points are forged steel anchors with published load ratings, typically 4.75 tons or higher for Jeep-class rigs.
Recovery point placement matters. Front: the best TJ front recovery points integrate into a steel front bumper — D-ring mounts welded to the bumper's frame-tied structure. If running the stock plastic bumper, bolt-on frame-mounted recovery points (Daystar, Bulletpoint) attach to the frame rails and provide a rated anchor without a full bumper swap. Rear: same principle — steel rear bumper with D-ring mounts is the right answer, with frame-mount bolt-on points as the budget interim.
Never use:
- Trailer hitch balls or receivers as recovery anchors — they're not rated for the load angles
- Frame tie-downs or tie-down chains as recovery points
- Bumper sheetmetal loops on plastic or stamped-metal bumpers
Shackle spec: Use a 3/4" forged bow shackle with a rated WLL (working load limit) of at least 4.75 tons. Screw-pin type — thread-in pin that locks with a half-turn back. Never use the shackle pin as a load-bearing connection: the bow must take the load, not the pin threads. WLL numbers on shackle packaging are already divided down from breaking strength by a safety factor, typically 4:1 to 6:1 depending on the manufacturer — a 4.75-ton WLL shackle has a real breaking strength closer to 19–28 tons. That margin exists to cover shock loading, wear, and off-axis pulls, not to be used up on purpose by buying undersized.
Steel shackles aren't the only rated connector worth carrying. A synthetic soft shackle — a loop of UHMWPE rope with a spliced eye and a friction-fit knob — connects the same way a bow shackle does but weighs a few ounces instead of two pounds, and it won't put a chunk of forged steel through a windshield if something fails. Bubba Rope's 7/8" soft shackle is rated to 41,300 lb breaking strength, well above what a TJ-class recovery generates, and it needs a hard mounting point like the Factor 55 Ultrahook to keep the rope loop from being crushed against a sharp-edged D-ring. Many trail leaders now run soft shackles at both ends of a kinetic rope and keep a single steel bow shackle in the kit as a backup for winching, where a bow shackle attaches more naturally to a hook or clevis.
Kinetic recovery ropes and tow straps are not the same tool and shouldn't be swapped for each other. A tow strap is a static-ish nylon strap meant to be pulled taut before the tug — it has minimal stretch, and using it for a running "snatch" start on a stuck vehicle is how tow straps and their mounting hardware fail. A kinetic rope (Bubba Rope, ARB, Factor 55) is engineered to stretch 20–30% under load and store that energy, then release it to pop a stuck vehicle free with a lower peak shock load on both vehicles' recovery points than a strap used the same way. If you're doing a running pull, use a kinetic rope; if you're doing a slow, steady static pull (winching, or easing a vehicle back onto the trail), a tow strap or winch line is the right tool.
- Rated recovery D-rings or bolt-on recovery point brackets
- Torque wrench
- Loctite Blue for threads
- 3/4" rated bow shackles (forged, not cast) or an equivalent-rated soft shackle
- Kinetic recovery rope for dynamic pulls, tow strap for static pulls
- Identify the frame mounting location — typically a hole or reinforced section on the front frame rail behind the front bumper area.
- Position recovery bracket, thread bolts by hand.
- Apply Loctite Blue to threads — these bolts loosen from vibration.
- Torque to manufacturer spec — typically 55–80 ft-lb depending on bolt diameter.
- Verify no interference with steering components or exhaust.
Attach shackle bow through the D-ring mount. Thread the pin in fully, then back off a half-turn — this prevents the pin from seizing from load but keeps it from backing out. Some wheelers safety-wire the shackle pin for this reason.
Recovery strap attaches to the shackle bow. Never hook directly to a D-ring without a shackle — the strap webbing can slip off under dynamic load.
If the recovery line has to change direction — pulling a vehicle out sideways around an obstacle, for instance — use a rated snatch block anchored to a separate, independent recovery point or a tree-saver strap around a solid tree. Never redirect a line around a bare tree trunk (it kills the bark and the tree) and never use the vehicle's own recovery point as the redirect anchor for its own line — that doubles the load on a single point instead of spreading it.
Lay a heavy blanket, floor mat, or dedicated recovery damper over the middle of the line before a kinetic pull. If a connection point fails, the damper's weight pulls the line down instead of letting it whip.
- Check shackle rating against your vehicle weight. A 4.75-ton WLL shackle is appropriate for a stock TJ. Add a winch, armor, and a spare and you're at 4,500 lb — still fine for a 4.75T shackle, but don't go lighter.
- Inspect recovery hardware before each trip. Bent, cracked, or deformed shackles are retired — period. Recovery hardware stress-fractures, and a deformed shackle is a pre-failure shackle.
- Inspect kinetic ropes and soft shackles for abrasion, cuts, and UV-damaged fuzzing along the fibers. A rope with a chafed section is compromised even if the rest looks fine — retire it.
- Safety critical: never stand in the recovery line between two vehicles, and keep bystanders well clear of the line's path on both sides. If a shackle or strap fails under load, it becomes a high-velocity projectile, and a kinetic rope under tension releases that stored stretch energy the instant the load comes off.
Bolt-on frame recovery point brackets: $75–$120 per pair. Rated forged shackles: $12–$20 each (ARB, Warn, Factor 55 — all acceptable brands). Soft shackles run $35–$50 each and need a compatible hard-point mount like the Ultrahook ($80–$95). A complete front and rear rated recovery setup with shackles runs $120–$200 if you're not replacing bumpers. If you're already buying steel bumpers, the D-ring mounts typically come integrated — verify before purchasing separate brackets. A kinetic rope in a TJ-appropriate rating (roughly 19,000–28,000 lb breaking strength) runs $100–$160 and is worth carrying alongside, not instead of, a static tow strap.
Tools required
- socket set
- torque wrench
- thread locker
Parts
| Part | Vendor | Est. price |
|---|---|---|
| ARB rated recovery point D-ring pair (3/4" forged) | ARB | ~$65 |
| Daystar Recovery Tow Points — front and rear pair — TJ | Daystar | ~$75 |
| Warn 88900 Forged D-Shackle set (3/4" rated) | Warn | ~$48 |
| Bulletpoint Mounting Solutions frame-mount recovery points — TJ | Bulletpoint | ~$120 |
| Factor 55 Ultrahook soft shackle mount | Factor 55 | ~$90 |
| Bubba Rope 7/8" synthetic soft shackle (41,300 lb breaking strength) | Bubba Rope | ~$45 |
Sources
- How to Set Up Recovery Rigging on a Jeep
- Proper use of D-rings and tow straps
- Kinetic recovery rope vs. tow strap — when to use which
Related
- Winch Selection for the TJ Wrangler
- Recovery Gear Starter Kit for the TJ
- TJ Steel Front Bumper — Which Style to Buy and Why
- TJ Steel Rear Bumper — Tire Carrier, Recovery Points, and Hitch
- All Jeep Wrangler TJ guides & tools
- Browse the full DIY database
Written and maintained by an AZ wheeler and driveway wrencher. How we source guides. Always cross-reference your factory service manual — modifications affect vehicle safety and warranty. Work at your own risk.