XJ Belly Skid Plate Options — Bolt-On Skids vs. Belly-Up Crossmember Systems
The transfer case is the lowest hard point under a lifted XJ, and the factory crossmember hooks rocks instead of sliding over them. There are three ways to fix that, at $200, at $500, and at $1,200, and the expensive one only makes sense if you are already buying a long arm system.
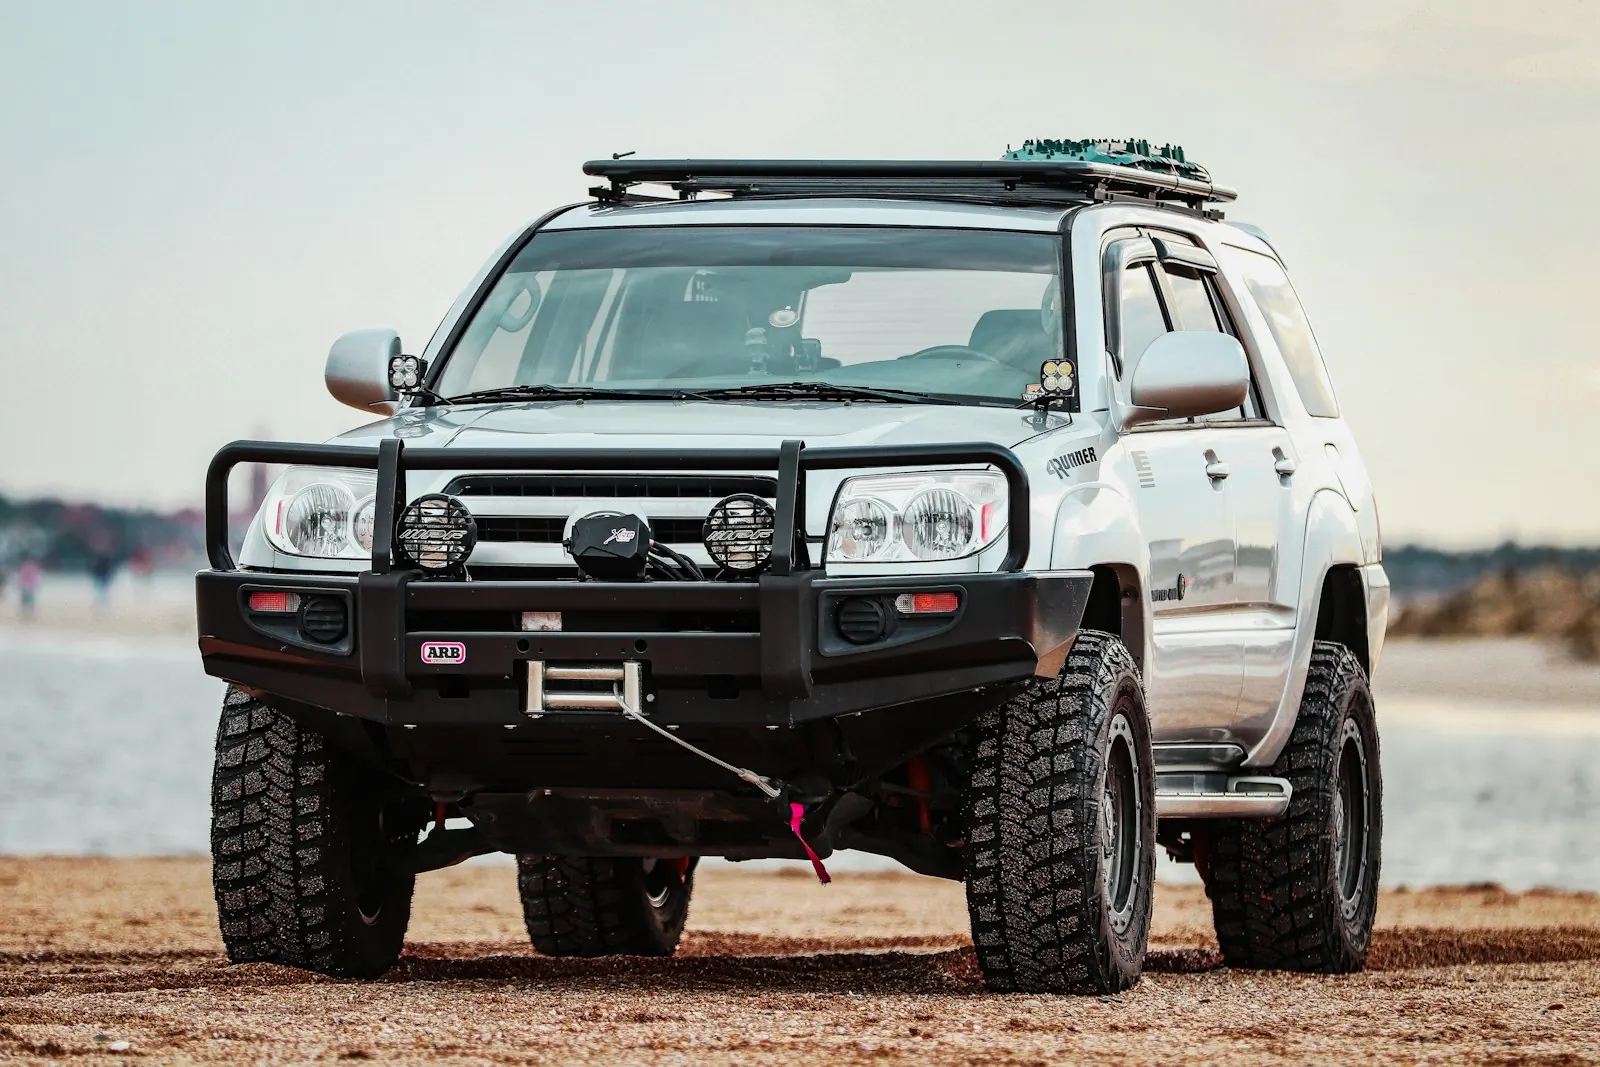
Belly protection on an XJ is a decision about shape as much as steel. A rock does not usually punch a hole in the transfer case; it catches the leading edge of the stock crossmember or the corner of the t-case housing and stops the Jeep, and then the weight of the vehicle does the damage. The goal is a flat, continuous surface from the transmission pan back past the transfer case output, with no edges facing forward. How much of that surface you can get depends entirely on what is holding the drivetrain up, which is why belly armor and crossmember choice are the same conversation.
Symptoms that say you need this: a dented or creased stock crossmember, a cracked or weeping transfer case housing, scraped t-case tail housing, or the recurring experience of high-centering on ledges you should clear on your tires. If you have added a lift and 31s or larger, the t-case now sits lower relative to the obstacles you are driving over, not higher.
The three tiers, honestly. Tier one keeps the factory crossmember and bolts individual skids to the engine, transmission, transfer case, and gas tank. Around $400 to $600 for the full set, a weekend of bolt-on work, and it covers the parts that crack. It does not fix the hangup, because the crossmember's forward edge is still there. Tier two replaces the crossmember with an aftermarket unit and bolts a matched t-case skid to it: Rusty's Trail Tested crossmember at $291 with its pre-drilled NP231 skid, Clayton's 1/4 in skid at $299, or JCR and Stinky Fab equivalents. Roughly $450 to $600, and this is the sweet spot for most moderate-trail XJs — you get a flat plane over the t-case and a crossmember that was designed to be hit. Tier three is a true full-width flat belly, and here is the part the forums gloss over: the Iron Rock flat belly skid is $174.63 and the t-case/belly skid is $163.79, but both bolt to Iron Rock's long arm subframes and nothing else. There is no $650 standalone belly-up kit for an XJ. A real flat belly is a feature of a long arm system, so price the system — $1,000 to $2,500 with the subframes, arms, and skid — not the plate.
What stops this job cold: the unibody. The crossmember bolts into captive nuts inside the sill, behind layers of sheet metal and foam. They spin or tear loose, and then you are cutting a 1 to 2 inch access window in the rail, welding the nut, and patching with 1/8 in plate — or drilling the mount through and running a bolt with a washer and nut on the crossmember side, which is the fix worth choosing on purpose because it makes the next transmission removal painless. Soak every bolt in penetrating oil the day before. Separately, if the sill around those mounts is soft or scaled, stop and address the rust first. Steel armor bolted to rusty unibody tears the unibody. Weld in stiffeners such as the Rust Buster RB6061 center set, or read Rust Treatment — Surface vs. Structural before you spend money on plate.
Year and drivetrain quirks. On a 2000-2001 XJ, most aftermarket crossmembers require the earlier 84-99 style rear transmission mount, Mopar 52001180. On 1987-1989 trucks with the Peugeot BA 10/5 manual, the mounting holes do not line up and you drill new ones using the mount as a template. The IRO flat belly skid does not clear an NP242; their t-case/belly skid handles NP231 and NP242 both. And a 1 in transfer case drop, which several crossmembers build in, improves driveline angle but gives back an inch of the clearance you are paying for — on a lifted NP231 the better answer is a slip yoke eliminator and a CV driveshaft, with the drop as a stopgap.
Steps
- Park on level concrete, chock the front wheels, and raise the Jeep at the pinch seams. Support it on four jack stands under the unibody rails, not under the suspension. Confirm it is stable by pushing hard on a corner before you go under.
- Inspect before you buy. Wire-brush the sill around both crossmember mounts and probe the metal with a screwdriver. Scale that flakes off and metal that gives means structural rust, and stiffeners or patch panels come before armor.
- Soak the crossmember-to-sill bolts and the transmission mount studs in penetrating oil. Let it sit overnight if you can; nutserts that spin cost hours.
- Measure your actual low point with a straightedge across the frame rails and a tape to the t-case, trans pan, and exhaust. Write the numbers down. This tells you whether a flat skid will clear or whether you need the drop built into the crossmember.
- Support the transmission with a transmission jack or a wide-padded floor jack under the pan, taking the weight but not lifting. An unsupported transmission hangs on the bellhousing bolts and cracks things.
- Remove the exhaust hanger and any lines, the t-case vent hose, and the shifter linkage that cross the work area. Label what you disconnect.
- Remove the transmission mount nuts from the crossmember studs, then the crossmember-to-sill bolts. Lower the crossmember out. If a captive nut spins, stop and repair it — weld it, or drill the mount through for a bolt-and-nut, patching any access window with 1/8 in plate.
- Clean, treat, and paint the mounting surfaces. This is the only time you will have clear access to that part of the sill.
- Dry-fit the new crossmember with hardware finger-tight. Check driveshaft angle, exhaust clearance, and shifter travel before you torque anything. Most kits require drilling; mark holes from the part itself, never from a diagram.
- Raise or lower the transmission to the new crossmember's mount height, install the mount, and start all fasteners by hand. Set the transmission mount bracket to the transmission at 55 ft-lb.
- Torque the crossmember-to-sill bolts to 30 ft-lb and the crossmember-to-mount cushion stud nuts to 16 ft-lb (192 in-lb). These are FSM figures for the factory fastener sizes; where a kit supplies its own larger hardware, use the vendor's spec instead.
- Mount the skid plate with the nut plates supplied. Snug all fasteners before torquing any, work from the center outward, and torque to the vendor's figure. Confirm the plate's drain holes line up with the t-case fill and drain plugs, or you will be pulling the skid for every fluid change.
- Reconnect the exhaust, vent hose, shifter linkage, and any lines. Check that nothing is stretched, rubbing, or touching the new plate.
- Remove the transmission jack, lower the vehicle, and recheck driveline vibration on a short road test. Re-torque every fastener after the first trail run and again at 500 miles — skid plates take impacts that loosen hardware.
Why it works
- Converts the lowest, sharpest point under the Jeep into a flat surface that slides, which is worth more than thickness on most obstacles.
- Tier two (crossmember plus matched skid, about $450 to $600) delivers most of the benefit for a third the cost of a long arm flat belly.
- An aftermarket crossmember is built to be struck, where the factory unit creases and then pinches the exhaust and shifter.
- One combined belly plate replaces separate transmission and transfer case skids and removes the gaps between them.
- Pulling the crossmember forces an honest look at the unibody sill, which is where XJ rust kills trucks.
Trade-offs
- 40 to 80 lb of steel hung low and centered, which you feel in approach speed, fuel economy, and bump steer recovery.
- A true flat belly on an XJ is not sold standalone — it comes with a long arm subframe system, so the realistic entry price is $1,000 to $2,500, not the $175 on the skid's product page.
- Spun or broken captive nuts in the sill are common and can turn a four-hour job into a weekend with a welder.
- Nearly every kit requires drilling, and some require drilling and tapping; a drill press is not an option under a vehicle.
- Transfer case fluid service means either lining up the skid's drain holes or dropping the plate each time.
- A built-in transfer case drop trades clearance for driveline angle. On a lifted NP231, an SYE and CV shaft is the real fix.
- Bolting heavy armor to a rust-weakened unibody transfers impact loads into metal that cannot carry them.
- Costs and sources. Individual bolt-on skids: $150 to $300 each, see Transmission / Transfer Case Skid Plate, Engine Skid Plate, and Gas Tank Skid Plate. Crossmember plus matched t-case skid: $450 to $600 from Rusty's, Clayton, JCR, Barnes 4WD, or Stinky Fab. Long arm system with flat belly: $1,000 to $2,500, see Iron Rock Long Arm and Clayton Long Arm. Unibody stiffeners, if the sill needs them: $150 to $250 plus welding. Shop labor for a crossmember and skid runs $400 to $800, and shops will decline the job outright on a rusty truck.
Tools required
- Floor jack and jack stands (four, rated for the vehicle)
- Transmission jack or a second floor jack with a wide pad
- Metric socket set, 3/8 in and 1/2 in drive
- Torque wrench reading 10 to 100 ft-lb
- Breaker bar and penetrating oil
- Pry bar
- Drill with sharp bits and a step bit (most kits require drilling)
- Tap set, if the kit calls for drilled and tapped hardware
- MIG welder (needed for unibody stiffeners and for repairing spun nutserts)
- Angle grinder with cutoff and flap discs
- Wire brush, rust converter, and chassis paint
Parts
| Part | Vendor | Est. price |
|---|---|---|
| Rusty's Trail Tested Crossmember, 1 in drop (replaces the factory t-case crossmember) | Rusty's Off-Road | ~$291 |
| Rusty's NP231 transfer case skid plate (crossmember is pre-drilled for it) | Rusty's Off-Road | ~$185 |
| Clayton Off Road XJ transfer case skid plate, 1/4 in | Clayton Off Road | ~$299 |
| Iron Rock Off Road XJ transfer case / belly skid, 1/4 in (Rock-Link long arm subframe only; NP231 or NP242) | Iron Rock Off Road | ~$164 |
| Iron Rock Off Road XJ flat belly skid, 1/4 in (Rock-Link PRO subframes only; NOT NP242) | Iron Rock Off Road | ~$175 |
| JCR Offroad XJ transfer case / belly skid | JCR Offroad | ~$300 |
| Rust Buster center unibody stiffeners (weld in before hanging armor on a rusty sill) | Rust Buster | ~$160 |
| Mopar rear transmission mount, 84-99 style — required on 2000-2001 XJ with most aftermarket crossmembers | Mopar / RockAuto | ~$35 |
| Grade 8 hardware and nut plates (most kits include theirs; buy spares in the kit's thread pitch) | local hardware / Fastenal | — |
Sources
- Iron Rock Off Road — XJ Flat Belly Skid Plate (16100)
- Iron Rock Off Road — XJ Transfer Case / Belly Skid (13024)
- Rusty's Off-Road — Trail Tested Crossmember, 1 in Drop
- Clayton Off Road — Jeep Cherokee Transfer Case Skid Plate (1984-2001 XJ)
- NAXJA — Transmission mount and crossmember torque specs (FSM values)
- NAXJA — Crossmember removal, damn nutserts
- Rust Buster — Center unibody stiffeners for 84-01 Cherokee XJ (RB6061)
Related
- Engine / Oil Pan Skid Plate
- Transmission / Transfer Case Skid Plate
- XJ Gas Tank Skid Plate — Options, Nut Strips, and Install
- Iron Rock ROCK-LINK Long Arm Conversion
- Clayton Off Road Long Arm Kit
- All Jeep Cherokee XJ guides & tools
- Browse the full DIY database
Written and maintained by an AZ wheeler and driveway wrencher. How we source guides. Always cross-reference your factory service manual — modifications affect vehicle safety and warranty. Work at your own risk.