Rock Sliders and Rocker Guards — Tube vs. Plate, and How They Mount
The XJ has no frame under its rocker panels, only stamped sheet metal that folds on first rock contact — sliders transfer that hit into the unibody rails instead, and the mounting method matters more than the tubing.
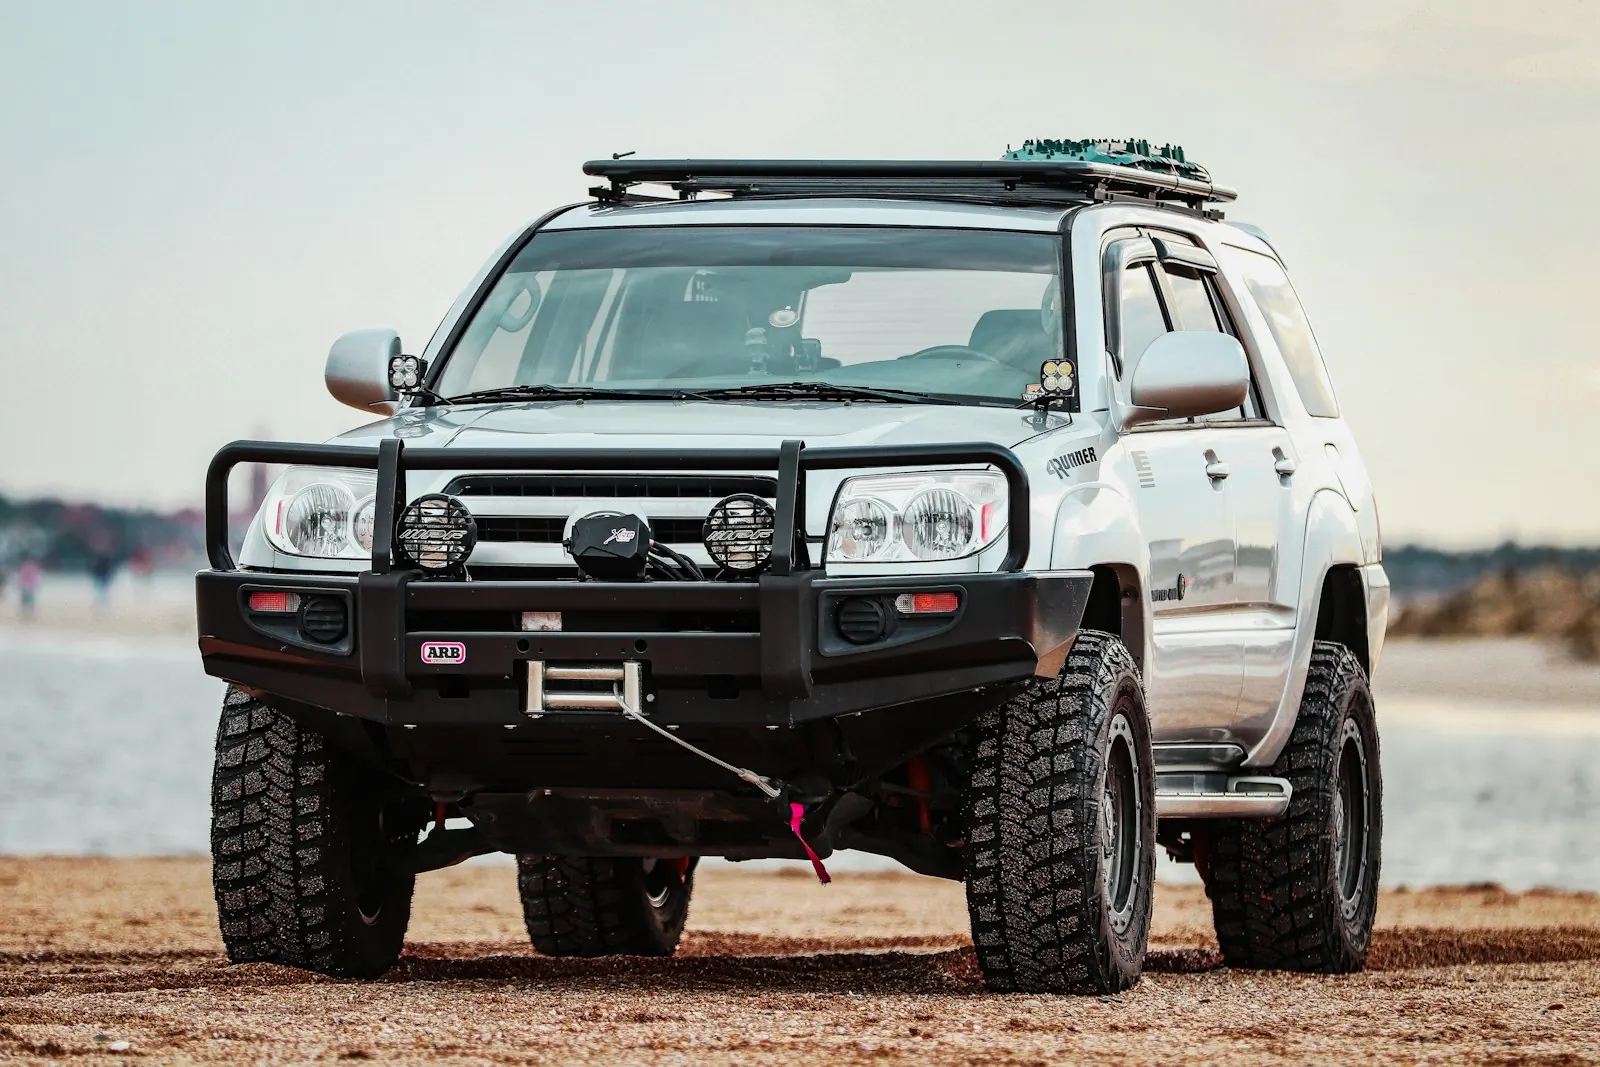
Rocker damage is the most common body injury on a wheeled XJ, and it is the one that costs the most to undo. The rocker panel is a thin stamped channel spot-welded to the unibody; there is no boxed frame beneath it the way there is on a TJ or a pickup. Contact a ledge at trail speed and the panel creases inward, the door gaps shift, and the unibody has lost some of its stiffness permanently. A slider or rocker guard puts a steel member outboard of that panel and ties it to the unibody rails, which are the only structure on the vehicle rated to take the load. The same part becomes your Hi-Lift contact point and your step, which is why most builders fit sliders before they fit a lift.
Tube versus plate. Round tube (1.5, 1.75, or 2 inches OD in 0.120-inch wall) is the common XJ answer: it sheds off rocks, is forgiving when it contacts at an angle, and keeps weight near 40 to 55 pounds per pair. Square tube at 1.5 to 2 inches with 1/8- to 3/16-inch wall resists bending better than round for the same weight, which is why weight-bearing jack points favor it. Plate or boat-side guards — a formed sheet, minimum 3/16-inch thick and braced along its length — give the widest contact face and the best protection for the whole rocker, and they are the only style that also shields the lower body against trail debris. They also hold mud, add the most weight, and bend rather than deflect when they do lose. For DOM versus HREW tubing: DOM is stronger, and for a slider it is not the deciding factor. Neither is going to come apart under you. Spend the money on mounting instead.
Mounting is where sliders succeed or fail. Three methods exist on the XJ, in ascending order of strength:
- Pinch-seam only. The slider's bracket bolts through the rocker's bottom flange. Adequate as a step and for scraping. Under a hard hit it pulls through, because you are loading two layers of sheet metal in shear.
- Pinch seam plus a frame-rail plate. The method the JCR Classic Sliders use, and the standard for bolt-on XJ sliders: a plate bolts flat to the unibody rail with self-tapping fasteners, and a second bracket takes the pinch seam. The rail carries the load; the seam locates the slider. Done correctly, this is close to welded strength.
- Weld-on. Most rigid, and it requires 1/4-inch spread plates against the rail, because the XJ's rail is only 1/8 to 3/16 inch thick and a bead laid straight onto it will cut through. The driver's-side rear mount sits near the fuel tank, so drop the tank or shield it properly before striking an arc; do not improvise here.
What the bolt-on kits do and do not come with. JCR's XJ instructions supply sixteen 3/8-inch self-tapping bolts for the frame plates and ten 5/16-inch hex bolts with flange nuts and washers for the pinch seam, drilled with a 5/16-inch bit. They publish no torque values and no crush tubes. They also tell you that three bolts per plate are acceptable when a rail obstruction blocks a hole, and that 1/4- to 3/8-inch gaps between plate and rail are normal given body variance. Treat every hole you drill as a future rust site: XJ rails rot from the inside, and an unsealed 5/16-inch hole in a rail you cannot see into is how that starts.
Clearance and fitment. Set the slider centered between the front and rear fenders with 1/8 to 1/4 inch of gap to the rocker. Any tighter and road grit packs in and holds moisture; any wider and the slider stops protecting the panel it is bolted to. On 1997-2001 models with factory body cladding, expect to pry the cladding back or trim it to reach the pinch-seam bolts. High-clearance designs tuck the tube up and inboard, which helps on tight trails and costs you step height on a daily driver.
Costs. Entry bolt-on kits run $250 to $300, mainstream bolt-on sliders $380 to $470, high-clearance and plate designs $500 to $650, and a DIY pair is about $160 in tube and plate plus a weekend. Add $40 for grade 8 hardware if you are replacing the supplied fasteners, and $15 for seam sealer and cavity wax.
Steps
- Park on level ground, chock the wheels, and raise one side onto jack stands placed under the unibody rails — never under the rocker panel you are about to drill.
- Wire-brush the rail and the pinch seam clean. Any existing rust perforation in the rail is a repair job first; bolting a slider to rotten metal buys nothing.
- Test fit the slider before paint or bedliner goes on. Center it between the front and rear fenders and set 1/8 to 1/4 inch of gap between the slider and the rocker panel, then clamp it in place and check the gap end to end.
- On 1997-2001 models with cladding, pry the cladding back or trim it where the pinch-seam bracket lands.
- Mark the frame-plate holes through the bracket, then drill pilot holes with a 5/16-inch bit. Stop and re-mark if a hole lands on a rail seam or an internal brace.
- Drive the 3/8-inch self-tapping bolts into the frame plate. Use at least three per plate; use all of them where the rail allows. Snug them progressively in a cross pattern rather than one at a time.
- Drill the pinch-seam holes at 5/16 inch and install the 5/16-inch hex bolts with a flat washer and flange nut, bracket on the outside of the pinch seam.
- Torque the 5/16-18 pinch-seam hardware to 17 ft-lb if grade 5, or 24 ft-lb if you have substituted grade 8. JCR publishes no figure, so these are the standard dry-thread values for that fastener. Do not exceed them; you are clamping sheet metal, not a bracket.
- Seal every hole you drilled. Brush seam sealer or paintable urethane around each fastener and shoot cavity wax or internal frame coating into the rail through an existing drain hole.
- Repeat on the opposite side, then lower the vehicle and sight down both sliders from front and rear to confirm they sit level and symmetric.
- For weld-on sliders, substitute steps 5 through 8: tack 1/4-inch spread plates to the rail, drop or shield the fuel tank before welding the driver's-side rear mount, weld in short staggered passes to limit heat distortion, and prime and seal every bead and heat-affected area the same day.
- Re-check all fasteners after the first trail run and again at 500 miles. Sheet metal relaxes around new hardware.
Why it works
- Saves the rocker panels, which on a unibody is structural damage rather than cosmetic.
- Gives you a rated Hi-Lift contact point and a step.
- Adds stiffness along the rails, which an XJ that flexes will use.
- Bolt-on kits tied to the frame rail approach welded strength without a welder.
Trade-offs
- Pinch-seam-only mounting pulls through under a real hit; the frame-rail plate is not optional.
- Every drilled hole is a rust entry point on a platform that already rots from inside the rails.
- Weld-on installs mean dropping or shielding the fuel tank, which turns a half-day job into a full one.
- Adds 40 to 70 pounds low on the body, and plate styles trap mud against the rocker.
- Tight rocker-to-slider gaps on cladded 1997-2001 models often require trimming parts you cannot un-trim.
Tools required
- floor jack
- jack stands
- drill with 5/16-inch bit
- metric and SAE sockets
- torque wrench
- angle grinder
- MIG welder (weld-on variants only)
Parts
| Part | Vendor | Est. price |
|---|---|---|
| JCR Offroad Classic Sliders XJ (bolt-on, pinch seam + frame plate) | JCR Offroad | ~$450 |
| Iron Rock Off Road XJ rock sliders | Iron Rock Off Road | ~$420 |
| C4 Fabrication XJ high-clearance sliders | C4 Fabrication | ~$550 |
| Rusty's Off Road XJ rocker guards | Rusty's Off Road | ~$380 |
| Affordable Offroad bolt-on XJ sliders (entry tier) | Affordable Offroad | ~$250 |
| DIY: 1.75-inch x 0.120-inch wall DOM tube plus 1/4-inch mounting plate | local steel supply | ~$160 |
Sources
- JCR Offroad Classic Sliders XJ/ZJ/WJ/WK/KJ/KK Installation Instructions (PDF)
- Roundforge — The Guide to Choosing Rock Sliders and Rocker Guards
- NAXJA — Rock Slider Mounting
- Cherokee Forum — Welded vs. Bolted On Rock Sliders
Related
- XJ Belly Skid Plate Options — Bolt-On Skids vs. Belly-Up Crossmember Systems
- All Jeep Cherokee XJ guides & tools
- Browse the full DIY database
Written and maintained by an AZ wheeler and driveway wrencher. How we source guides. Always cross-reference your factory service manual — modifications affect vehicle safety and warranty. Work at your own risk.